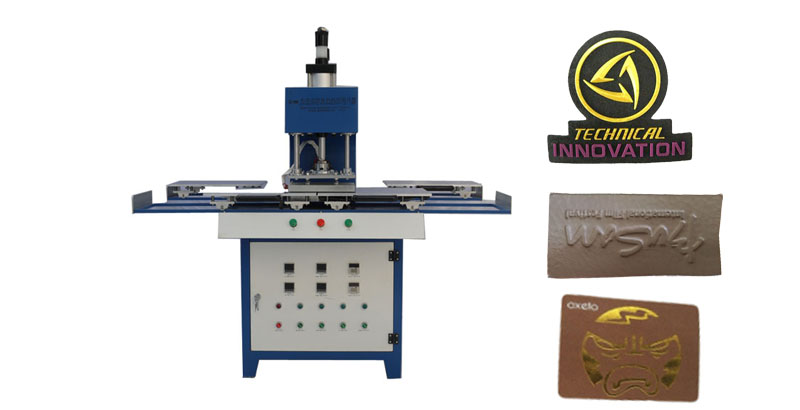
A Step-by-Step Guide to silicone label Embossing Machines
Silicone label embossing machines have become an essential tool for businesses looking to add a touch of sophistication and professionalism to their products. These machines allow you to create raised or recessed logos on various materials, such as paper, leather, plastic, and more. In this article, we will provide you with a comprehensive guide on how to use a logo embossing machine effectively.
Step 1: Familiarize Yourself with the Machine
Before getting started, it is crucial to familiarize yourself with the silicone label embossing machine you are using. Read the user manual thoroughly and understand the different components of the machine. This will ensure that you can operate it safely and efficiently.
Step 2: Prepare the Material
Choose the material you wish to emboss your label onto. Ensure that the material is clean and free from any dust or debris. If necessary, trim the material to the desired size using a paper cutter or scissors.
Step 3: Create a Design
Design your logo using graphic design software or hire a professional designer to create it for you. Keep in mind that the design should be suitable for embossing, with clear lines and minimal intricate details. Convert the design into a vector format for better results.
Step 4: Set Up the Machine
Once you have your material and design ready, set up the logo embossing machine according to the manufacturer’s instructions. This typically involves adjusting the temperature, pressure, and alignment settings. Ensure that the machine is properly heated and ready for use.
Step 5: Test Run
Before embossing your final product, it is advisable to conduct a test run on a spare piece of material. This will help you determine the optimal settings for your specific material and design. Adjust the pressure and temperature as needed until you achieve the desired embossing effect.
Step 6: Position the Material
Place the material onto the embossing plate, ensuring that it is aligned correctly. Use alignment guides or marks on the machine for accuracy. Secure the material in place using clips or magnets, if provided.
Step 7: Embossing Process
Carefully lower the embossing plate onto the material, applying even pressure. Allow the machine to do its work, ensuring that the embossing plate covers the entire design area. The duration of the embossing process will depend on the material and machine specifications.
Step 8: Remove the Material
Once the embossing process is complete, carefully remove the material from the machine. Take caution not to smudge or damage the embossed logo during this step. Allow the material to cool down before handling it further.
Step 9: Finishing Touches
Inspect the embossed logo for any imperfections or inconsistencies. If necessary, use a heat or a hot iron to touch up any areas that require additional embossing. Trim any excess material if needed.
Silicone label embossing machines offer businesses an effective way to enhance their branding efforts by adding a touch of elegance to their products. By following the step-by-step guide outlined in this article, you can confidently utilize a logo embossing machine to create professional and visually appealing logos on various materials. Remember to always adhere to safety guidelines and experiment with different settings to achieve the best results.
Post time: Aug-01-2023