Silicone wristbands have become increasingly popular over the years, serving as a versatile accessory for various purposes. Whether you want to promote a cause, raise awareness, or simply create personalized accessories, making your own silicone wristbands can be a fun and rewarding project. In this step-by-step guide, we will walk you through the process of making silicone wristbands.
Materials Needed:
Silicone mold
Silicone rubber compound
Pigment or color additive (optional)
Mixing container
Stirring stick or spatula
Release agent (optional)
Heat source (oven or heating machine)
De-bubbling tool (optional)
Customized message or design (optional)
Step 1: Prepare the Silicone Mold
Start by selecting a silicone mold that matches the desired shape and size of your wristbands. Ensure that the mold is clean and free from any debris or residue. If necessary, use a release agent to prevent the silicone from sticking to the mold.
Step 2: Measure and Mix the Silicone Rubber Compound
Carefully measure the required amount of silicone rubber compound according to the instructions provided by the manufacturer. If you wish to add color to your wristbands, incorporate a pigment or color additive at this stage. Place the measured compound into a mixing container.
Step 3: Stir and Mix the Compound
Using a stirring stick or spatula, thoroughly mix the silicone rubber compound and color additive (if used) until the color is evenly distributed. Ensure that there are no streaks or clumps in the mixture.
Step 4: Pour the Mixture into the Mold
Pour the mixed silicone rubber compound into the prepared silicone mold. Fill the mold to the desired thickness for your wristbands. Take care to avoid overfilling, as excess material may spill over the edges.
Step 5: Remove Air Bubbles (Optional)
To eliminate any air bubbles trapped within the silicone mixture, gently tap the mold on a flat surface. Alternatively, you can use a de-bubbling tool to remove any remaining bubbles. This step is crucial to ensure a smooth and flawless finish on your wristbands.
Step 6: Cure the Silicone Wristbands
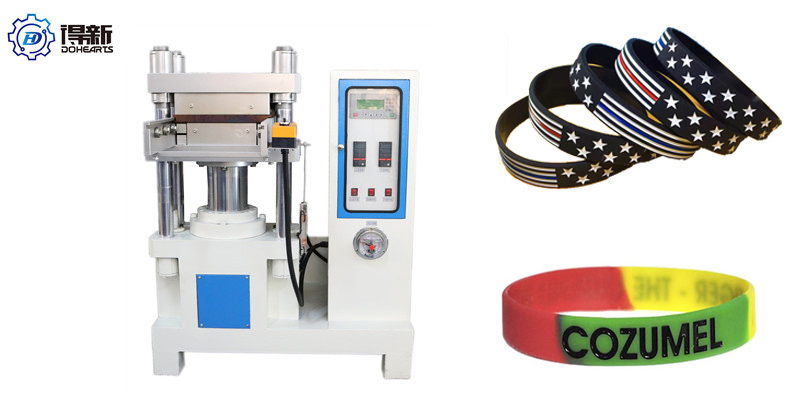
Follow the manufacturer’s instructions to cure the silicone wristbands. This typically involves exposing the mold to a heat source such as an oven or heat machine. Maintain the recommended temperature and duration for curing.
Step 7: Remove the Wristbands from the Mold
Once the silicone has fully cured, carefully remove the wristbands from the mold. Take your time and ensure that the wristbands are completely detached without any damage.
Step 8: Customize the Wristbands (Optional)
If desired, you can personalize your wristbands by adding a customized message or design. This can be achieved through various methods, such as printing, engraving, or embossing. Select the method that best suits your preferences and follow the appropriate instructions.
Step 9: Enjoy Your Custom Silicone Wristbands
Congratulations! You have successfully made your own silicone wristbands. Now, you can proudly wear them, distribute them to others, or use them for your intended purpose.
Creating silicone wristbands allows you to express your creativity and make a statement. By following this step-by-step guide, you can produce high-quality wristbands that reflect your unique style and purpose. So, gather your materials, unleash your imagination, and start making your very own silicone wristbands today!
Post time: Aug-21-2023