Logo is an essential element for any company as it represents the brand’s identity and image. In order to establish a strong presence and leave a lasting impression, it is crucial to showcase your logo in various ways. One effective method is to emboss your logo on tapes, which can be used for a range of purposes such as packaging, promotional events, and corporate gifts. This article will guide you on how to emboss your logo on tapes, allowing you to create a unique and memorable branding experience.
- Choose the Right tapes Material The first step in embossing your logo on ribbons is to select the appropriate ribbon material. Consider the purpose and desired look of the final product. Options include satin, grosgrain, organza, or velvet ribbons. Each material offers a different texture and appearance, so choose the one that best aligns with your brand image.
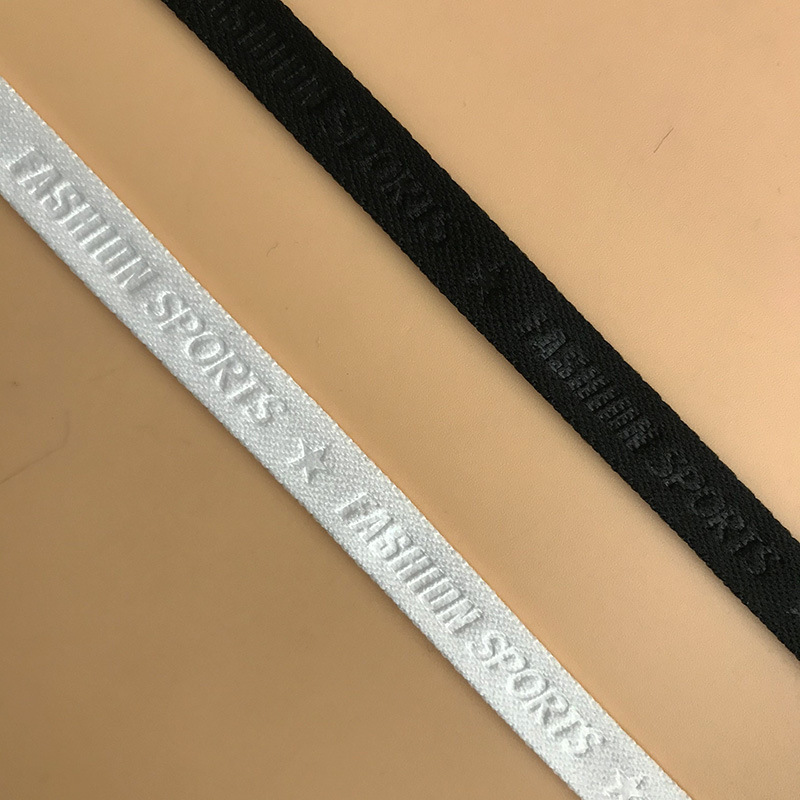
- Designing Your Logo Ensure that your logo is in a high-resolution format, as this will guarantee a clear and crisp embossed result. If needed, consult a graphic designer to refine your logo and prepare it for the embossing process. Remember that simplicity is key when it comes to embossing, as intricate designs may not translate well onto ribbons.
- Selecting the Embossing Method There are several methods to emboss your logo on tapes. One popular technique is heat embossing, which involves using a heat tool to melt a special embossing powder onto the ribbon. Another method is blind embossing, where pressure is applied to create a raised impression without any additional color. Choose the method that best suits your logo design and desired outcome.
- Preparing the Embossing Equipment To emboss your logo on tapes, you will need specific tools and equipment. These include an embossing heat tool, embossing powder, embossing ink, and a rubber stamp or embossing folder with your logo design. Ensure that you have all the necessary materials before proceeding.
- Practice on Scrap Ribbons Before embossing your logo on the actual tapes, it is advisable to practice on scrap pieces first. This will allow you to familiarize yourself with the embossing process and make any necessary adjustments. It is essential to achieve the desired depth and clarity in the embossed logo.
- Embossing Your Logo Once you have practiced and are confident in your embossing technique, it is time to emboss your logo on the ribbons. Apply a thin layer of embossing ink to your rubber stamp or embossing folder with your logo. Press the stamp or folder firmly onto the ribbon, ensuring even pressure. Sprinkle embossing powder over the inked logo, covering it entirely. Gently tap off any excess powder. Use the embossing heat tool to melt the powder, moving the tool in a circular motion to prevent scorching. Allow the ribbon to cool before handling.
- Finishing Touches After embossing your logo on the tapes, inspect the final result for any imperfections or smudges. If necessary, touch up the embossed areas with a fine brush or remove any excess powder. Trim the ribbons to the desired length and neatly package them for use or distribution.
Embossing your logo on tapes provides a unique and professional touch to your brand. By following these steps and paying attention to detail, you can create visually appealing ribbons that enhance your company’s image and make a lasting impression on your target audience. Remember, a well-executed logo embossing can elevate your brand’s visibility and credibility, so invest the time and effort to achieve the best results.
Post time: Jul-12-2023